1. jdbc jar 추가하기
프로젝트 우클릭 - Properties - Java Build Path 의 Libraries 탭에서 Add External JARs 를 클릭해준다.
MYSQL\Connector J\에 있는
mysql-connector-java-x.x.x.x.jar를 선택하고 Apply and Close를 클릭해준다.

Tomcat 설치폴더\lib에도 mysql-connector-java 를 복사해서 넣어준다.
2. Schema 만들기
mysql 콘솔을 키고 아래의 명령어를 입력한다.
|
1
2
3
4
5
6
7
8
9
10
11
12
|
CREATE DATABASE IF NOT EXISTS BBS
DEFAULT CHARACTER SET utf8 COLLATE utf8_general_ci;
USE BBS;
CREATE TABLE IF NOT EXISTS user(
id INT(10) NOT NULL AUTO_INCREMENT PRIMARY KEY,
user_id VARCHAR(32) NOT NULL,
password VARCHAR(32) NOT NULL,
nickname VARCHAR(32) NOT NULL,
name VARCHAR(32) NOT NULL,
date DATETIME DEFAULT CURRENT_TIMESTAMP
);
http://colorscripter.com/info#e" target="_blank" style="color:#e5e5e5text-decoration:none">Colored by Color Scripter
|
1 - Database 생성
2- Table 생성
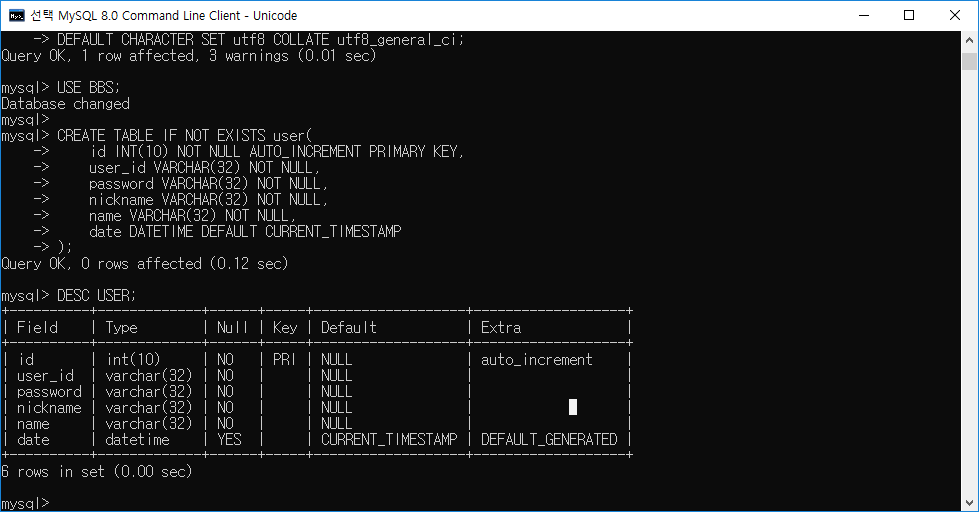
Query OK 가 뜨면 정상적으로 DB생성과 Table 생성이 완료된 것이다.
DESC user 을 입력해보자 아래와 같은 테이블 구조를 볼 수 있다.
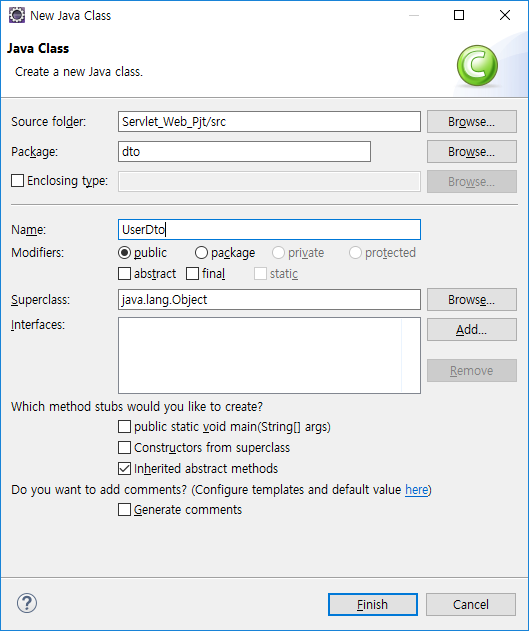
3. 새로운 패키지 dao, dto, service를 만들어 준다
dto 패키지 안에 UserDto클래스를 생성한다.
|
1
2
3
4
5
6
7
8
9
|
package dto;
public class UserDto {
private String user_id;
private String name;
private String password;
private String nickname;
}
|
위와 같이 입력하고 우클릭 - Source - Generate Getters and Setters 를 클릭한다.
Select All 을 클릭하고 Generate를 클릭해준다
UserDto는 DB에 user 데이터를 새로 저장하거나 조회하여 꺼내올때 UserDto객체에 정보를 담아서 이용할 수있다.
새로운 유저 정보를 DB 에 Insert할 Dao를 dao패키지 안에 작성하자.
|
1
2
3
4
5
6
7
8
9
10
11
12
13
14
15
16
17
18
19
20
21
22
23
24
25
26
27
28
29
30
31
32
33
34
35
36
37
38
39
40
41
|
package dao;
import java.sql.Connection;
import java.sql.DriverManager;
import java.sql.PreparedStatement;
import java.sql.ResultSet;
import dto.UserDto;
public class UserDao {
private Connection conn;
private PreparedStatement pstmt;
private ResultSet rs;
public UserDao() {
try {
String dbURL = "jdbc:mysql://localhost:3306/BBS?serverTimezone=UTC";
String dbID = "root";
String dbPassword = "1111";
Class.forName("com.mysql.jdbc.Driver");
conn = DriverManager.getConnection(dbURL,dbID,dbPassword);
} catch (Exception e) {
e.printStackTrace();
}
}
public int register(UserDto dto) {
String SQL = "INSERT INTO USER(user_id, password, nickname, name) VALUES(?,?,?,?)";
try {
pstmt= conn.prepareStatement(SQL);
pstmt.setString(1, dto.getUser_id());
pstmt.setString(2, dto.getPassword());
pstmt.setString(3, dto.getNickname());
pstmt.setString(4, dto.getName());
return pstmt.executeUpdate();
} catch(Exception e) {
e.printStackTrace();
}
return -1; // database error
}
}
http://colorscripter.com/info#e" target="_blank" style="color:#e5e5e5text-decoration:none">Colored by Color Scripter
|
14 - DB 연결부분
26 - 새로운 유저를 DB에 Insert 하는 메서드
27 - SQL문
28 - PreparedStatement가 27 줄의 Sql을 사용하겠다는 뜻.
30 - pstmt.setString(1, dto.getUser_id()); Sql문 의 VALUES(?,?,?,?)중 첫번째 ?에 DTO의 user_id 지정
4. Dao와 Dto를 작성하였으니 이제 회원가입 정보를 받을 join.html 을 수정한다
|
1
2
3
4
5
6
7
8
9
10
11
12
13
14
15
16
|
<!DOCTYPE html>
<html>
<head>
<meta charset="UTF-8">
<title>Join</title>
</head>
<body>
<form name = "join" method="post" action="joinservice">
ID: <input type="text" name="user_id"> <br>
PWD: <input type="password" name="password"> <br>
NickName: <input type="text" name="nickname"><br>
Name: <input type="text" name="name"><br>
<input type = "submit">
</form>
</body>
</html>
|
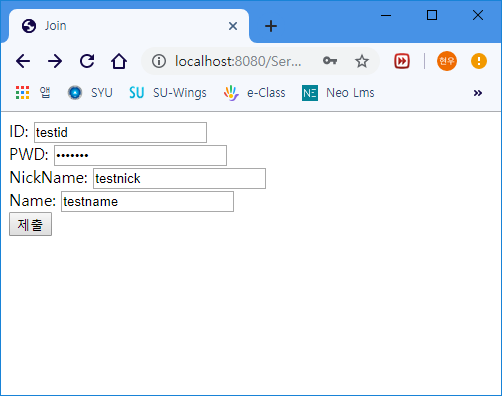
앞서 BBS 스키마의 user 테이블에 있는 정보를 받아서 joinservice로 넘기는 html 문서이다.
5. 회원가입 정보를 처리할 Servlet을 service 패키지 안에 작성한다
|
1
2
3
4
5
6
7
8
9
10
11
12
13
14
15
16
17
18
19
20
21
22
23
24
25
26
27
28
29
30
31
32
33
34
35
36
37
38
39
40
41
42
43
44
45
46
47
48
49
50
51
52
53
|
//joinservice
package service;
import java.io.IOException;
import java.io.PrintWriter;
import javax.servlet.ServletException;
import javax.servlet.annotation.WebServlet;
import dao.UserDao;
import dto.UserDto;
@WebServlet("/joinservice")
public class joinservice extends HttpServlet {
private static final long serialVersionUID = 1L;
//userdao 객체 선언
private UserDao dao = new UserDao();
//userdto 객체 선언
private UserDto dto = new UserDto();
public joinservice() {
super();
}
protected void doGet(HttpServletRequest request, HttpServletResponse response) throws ServletException, IOException {
PrintWriter Writer = response.getWriter();
response.setContentType("text/html; charset=UTF-8");
response.setCharacterEncoding("UTF-8");
//Parameter로 넘어온 값들을 dto에 넣어준다.
dto.setUser_id(request.getParameter("user_id").trim());
dto.setPassword(request.getParameter("password").trim());
dto.setNickname(request.getParameter("nickname").trim());
dto.setName(request.getParameter("name").trim());
int result = dao.register(dto);
if(result == -1) {
System.out.println("error");
Writer.println("<script>");
Writer.println("alert('fail')");
Writer.println("</script>");
}
else {
System.out.println("success");
Writer.println("<script>");
Writer.println("alert('success');");
Writer.println("</script>");
}
}
protected void doPost(HttpServletRequest request, HttpServletResponse response) throws ServletException, IOException {
doGet(request, response);
}
}
|
6. /join.html에 접속하여 값을 입력하고 전송해보자
submit
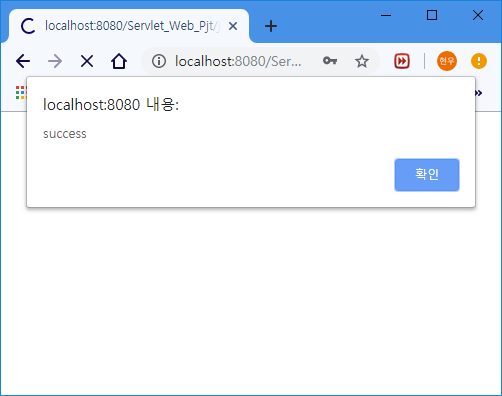
아래와 같이 메시지가 나오면 성공한 것이다.
이제 DB에 추가되었는지 확인해보자.
mysql 콘솔을 켜고 아래와 같이 입력한다.
use bbs;
select * from user;
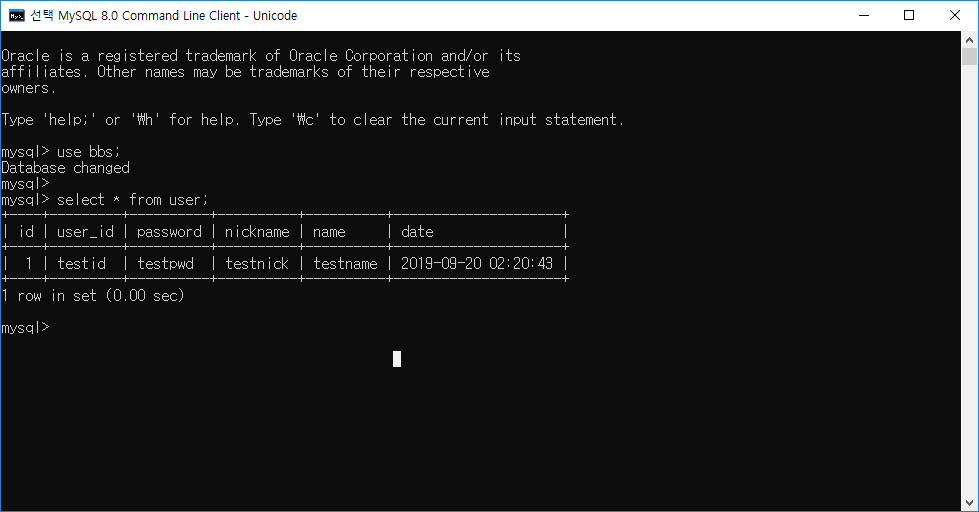
DB에 잘 들어간 것을 볼 수 있다.
'WEB > Servlet' 카테고리의 다른 글
| 2) Servlet을 이용한 동적 웹 - Parameter 추출 하기 (0) | 2019.09.16 |
|---|---|
| 1) Servlet을 이용한 동적 웹 - Request / Response (0) | 2019.09.15 |